| |
Cascading Style Sheets
Internal Style Sheets
------------------------
Internal Style Sheets only affect the HTML document in which they are embedded. They are most suitable for use in smaller websites with 2-3 pages.
To Create Internal Style Sheets in Dreamweaver MX:

As for defining styles, you have several options: Create your own style, redefine an HTML tag, or use a CSS selector.
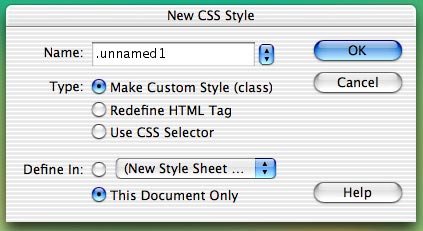
To Make Custom Style (class), you will need to create a name for your new style, for example .newStyleName. Remember to keep that dot (.) in the front. Click OK. For more information on Custom Styles, click on the Class Selectors link under the Rules section.
To redefine an HTML Tag, click on the arrow/s and select a tag from the pull down menu, i.e. p for paragraphs. Click OK. This is the most commonly used form of CSS at Wellesley. For more information on redefining HTML tags, click on the HTML Selectors link under the Rules section.
To use a CSS Selector, click on the arrow/s and select from the list. Click OK. In Dreamweaver MX, using a CSS Selector is essentially redefining the HTML tags of links. For example, if you choose a:visited, you are redefining the properties of visited links.
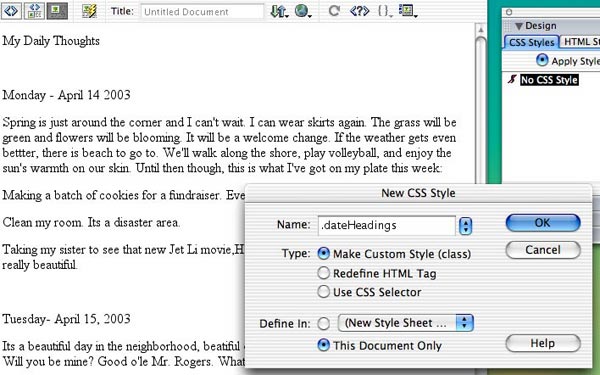
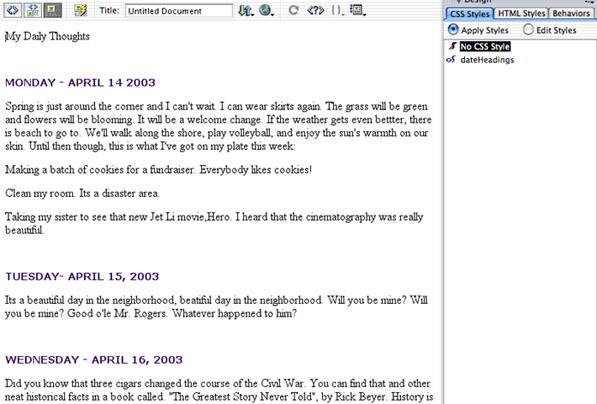
In the above example, the HTML file is a page from a journal. A custom style has been created for the journal entry dates, named .dateHeadings.
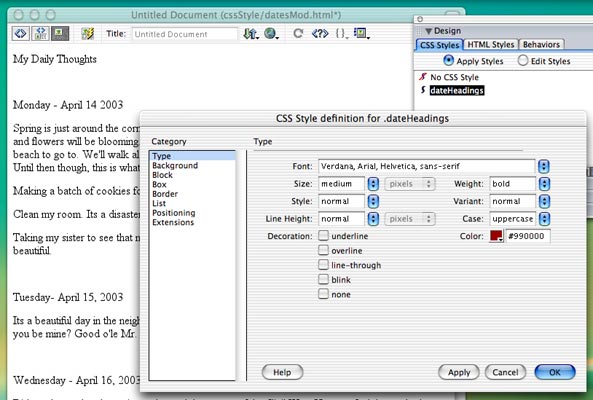
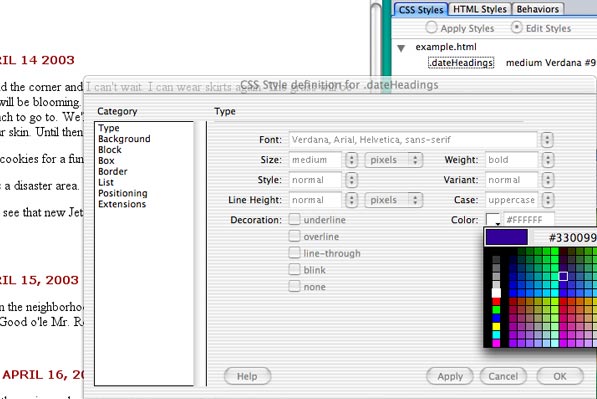
In the above example, the Type properties for .dateHeadings are defined as Verdana, Arial, Helvetica, sans-serif Font, of a Size medium, normal Style, normal Line Height, bold Line Weight, etc. in a bright red color with a hexadecimal code of #990000.
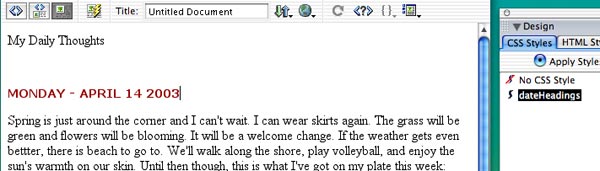
Here, the journal entry date of Monday - April 14 2003 was selected and had the .dateHeadings style applied to it.
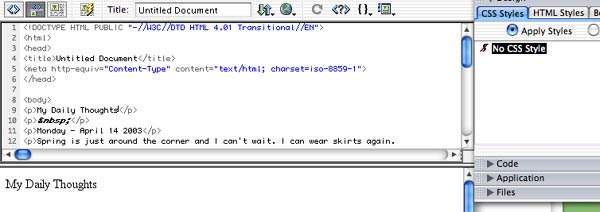
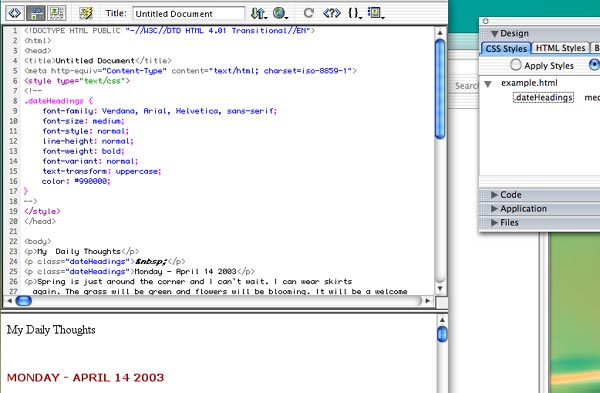
Above is the original HTML code. Below, you can see the CSS code that has been added to the HTML document. To see the code of a document, go to View>Code or View>Code and Design.
In this example, the bright red color, #990000, has been changed to a royal purple with a hexadecimal code of #330099.